Once you have the software in place and the database details ready, you visit the URL of your wiki, in order to start the installation process. So if your wiki is going to be http://CoolWiki.com/ you would enter that URL into your browser.
Then the first screen you will see is a welcome screen just telling you that you must setup the wiki and you just click on the blue link to continue:

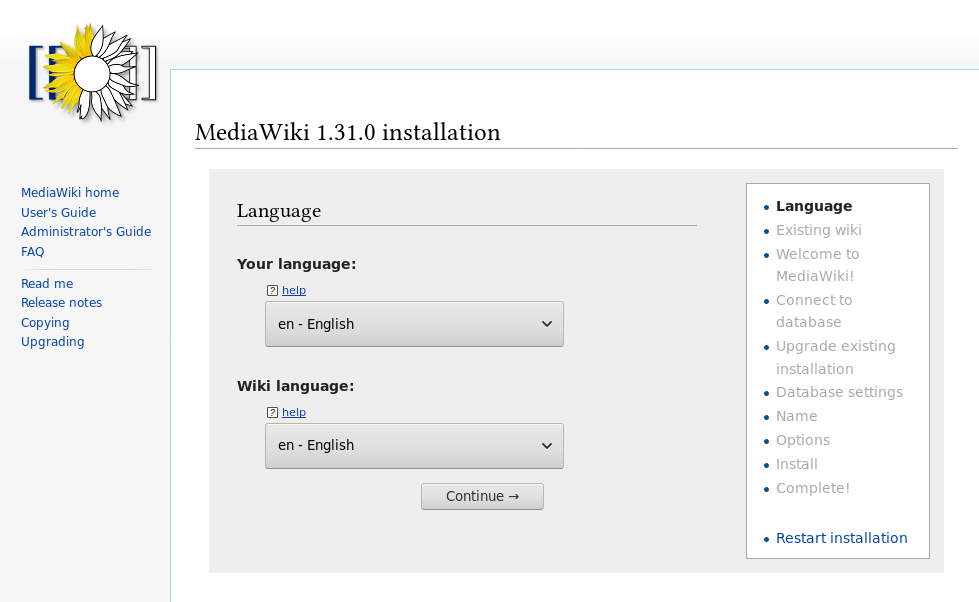
Next screen allows you to choose a language:

Next screen is a environment check where MediaWiki checks that your server is capable of running MediaWiki. If all is well, you just click Continue. If there would be a problem, you would need to contact your host or your sysadmin.

Next screen is the database connection settings. You will need to know the host, database name, database user name and password. If you use CiviHosting, you should have those from us. If you don’t know these, you could ask your host or your sysadmin:

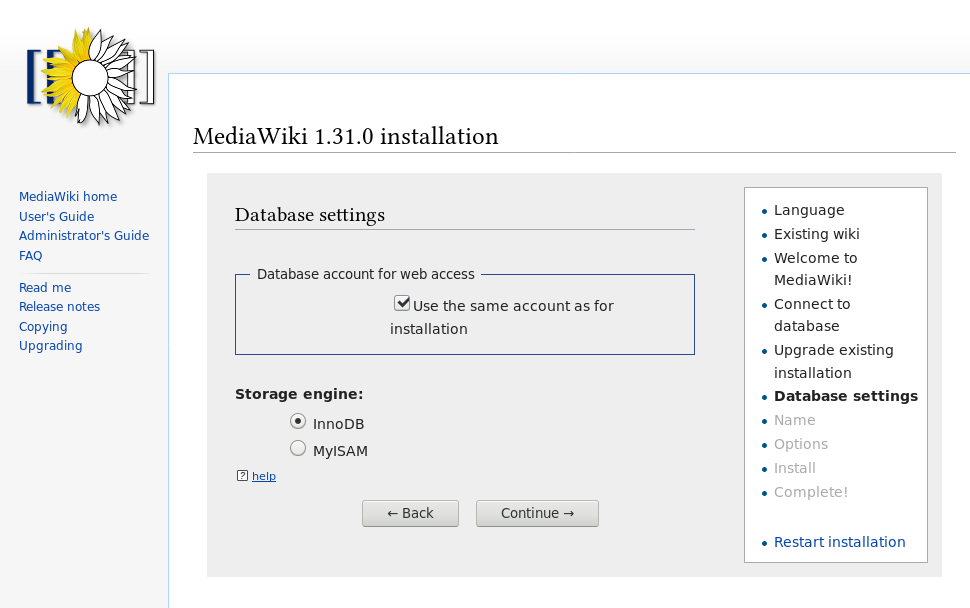
Next screen is “Database settings” and unless you really know what you’re doing, just leave the defaults and click Continue. That is what we recommend:

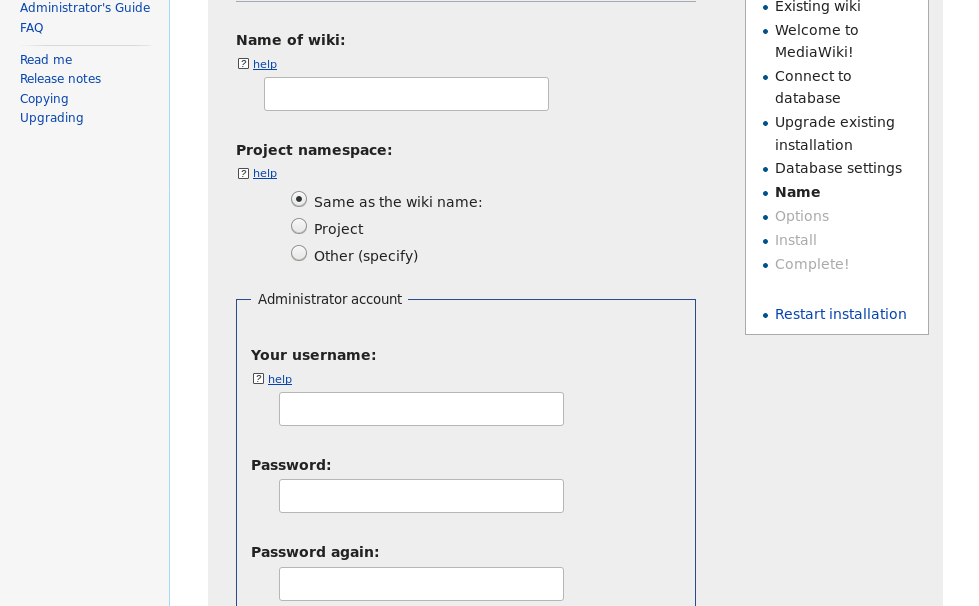
Next screen is for the wiki name and your administrator account details:

At the bottom of this screen is a cute question:
Unless you really are bored, just complete the install. 🙂
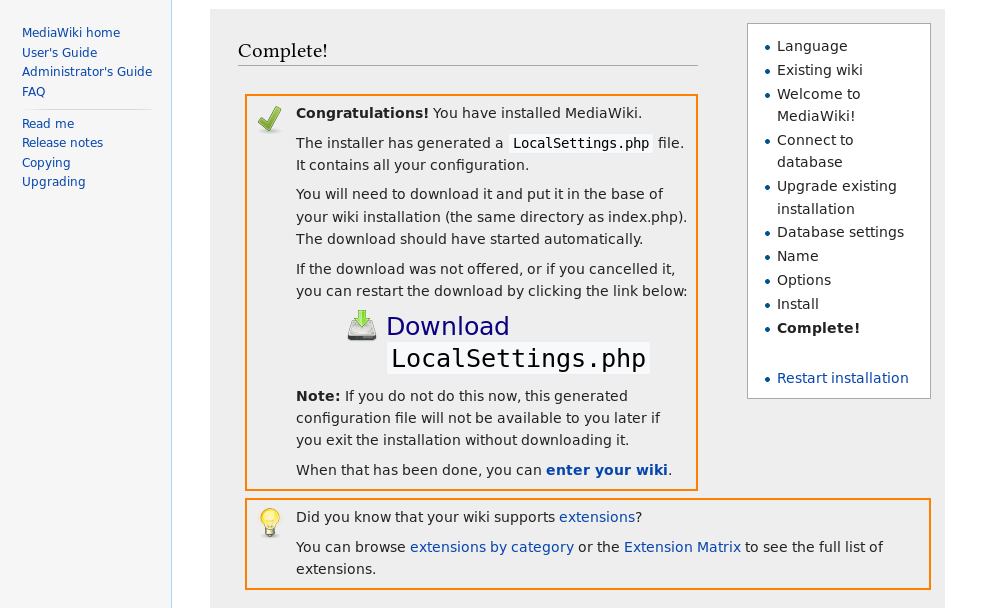
Now you click Continue once or twice until it says “Congratulations! You have installed MediaWiki.” This screen will also have a download link for LocalSettings.php:

You must download this file and save it to your PC. Then you must upload the file to the root of your MediaWiki install. This step can actually be tricky and how to do it depends on your server setup.
But the good news is that once it’s done, you now have your MediaWiki install, which will look like this:

Now you can login and start making pages. 🙂
Back to the How to Install MediaWiki page.
